
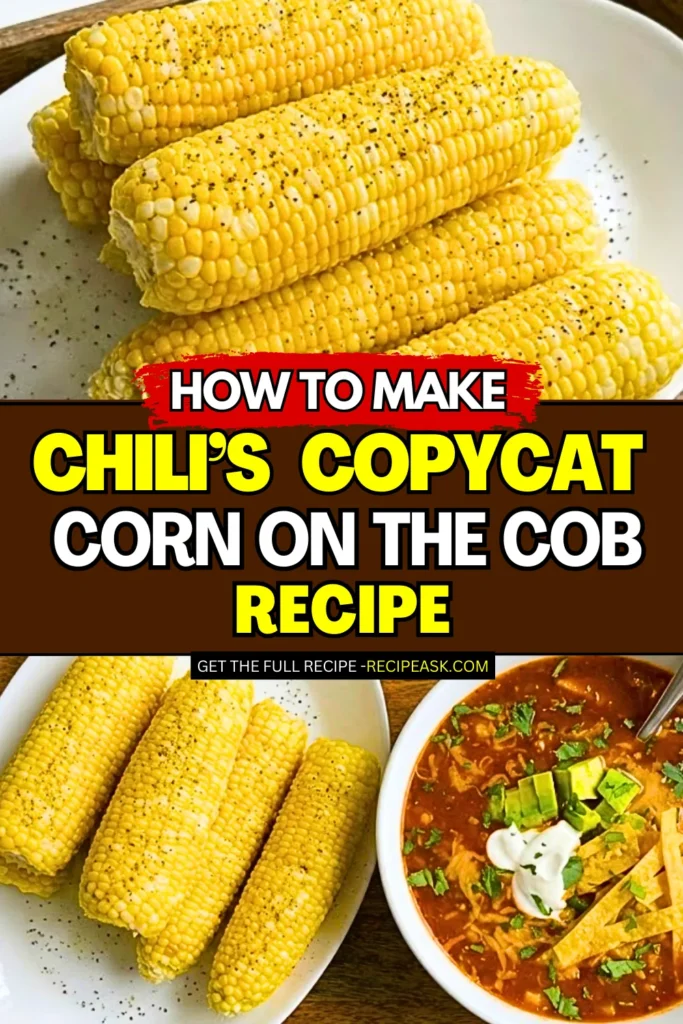
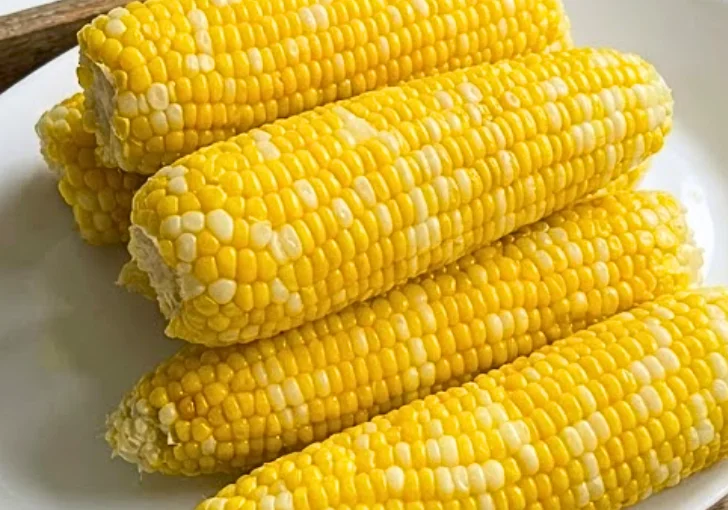
Chili’s Corn on the Cob Recipe: Creamy Butter-Boiled Corn
Chili’s Corn on the Cob Recipe is one of those simple but based sides to serve and enjoy with steak, grill chicken or even with chicken wings. This dish comes from the famous Chili’s-style buttery corn that many people love at restaurants.
It’s popular because the corn cooks in milk and butter, not just plain water. That small trick makes a big difference.
I spent months testing different methods to get this right, so it tastes exactly like the side you order when you go out to eat. Yeah, I may have ordered takeout corn three weekends in a row just to compare, no shame.
I got obsessed with recreating Chilis corn on the cob copycat recipe after my last trip to Chili’s, when my 10 year old said the corn was better than the loaded fries we ordered. You only need 4 basic ingredients to make it, no fancy tools required.
In todays post, I will show you exactly how to make corn on the cob like Chilis at home for way less than you pay at the restaurant.
Why This Chili’s Corn on the Cob Recipe Tastes So Good
Most people boil corn in plain water. That works fine. But it does not give you that rich, creamy taste you get at Chili’s.
The secret? Butter and milk.
Yes, that is it. You boil your corn in a mix of water, whole milk, and a full stick of butter. The corn soaks up all that buttery goodness while it cooks. Every single kernel gets flavor from the inside out.
This copycat Chili’s corn on the cob method is so easy that once you try it, you will never go back to plain water again.
Chili’s Corn on the Cob Perfect For
- Busy weeknights – Toss the corn in the pot, cook your main, and dinner is ready with almost no work.
- Summer cookouts – Make a big pot of this buttery corn to go next to burgers, hot dogs, and grilled chicken.
- Game day spreads – Set out a platter of mini corn cobs so people can grab one with wings and sliders.
- Tex‑Mex nights at home – This Chili’s style corn on the cob fits right next to fajitas, tacos, or a big bowl of chili.
- Simple comfort meals – When you just want steak, mashed potatoes, and a sweet side, this corn hits the spot.
- Cooking for beginners – If you’re still new in the kitchen, this is a great “win” recipe that almost never fails.
Chili’s Corn on the Cob Ingredients
6 ears fresh corn on the cob, husked and cleaned (or 6 frozen corn on the cobs) – Fresh corn gives the brightest taste, but frozen works great too. This is the star of our copycat Chili’s corn on the cob, so pick nice full ears.
1 stick (½ cup) unsalted butter – Butter brings that rich Chili’s style flavor and helps the kernels stay soft. I like unsalted butter, so I can control the salt at the end and season the corn how I want.
1 cup whole milk – Whole milk makes the cooking liquid feel creamy and smooth. It gives the corn a gentle dairy taste, kind of like a light cream sauce, without making anything heavy or too thick.
4–5 quarts water (enough to fill a large pot halfway) – Water is the base of the corn bath. It helps spread the heat around the ears so they cook even. You want enough to cover all the corn once it goes in the pot.
Salt to taste (optional for serving) – The corn already cooks with butter and milk, so it is tasty on its own. A light sprinkle of salt at the end wakes up the sweetness and makes the Chili’s corn side taste more like restaurant style.
Ingredients Substitutions & Variations
- Salted butter: If you only have salted butter at home, use it. Just skip adding extra salt at the end so your corn does not taste too salty. I do this all the time when I run out of unsalted.
- 2% or skim milk: Whole milk works best, but you can use lower fat milk if that is all you have. The corn will still taste great, just a little less creamy.
- Dairy free swap: If you are dairy free, or cooking for someone who is lactose intolerant, swap the cow milk and butter for unsweetened oat milk and vegan butter. I tested this for my sister, and it tastes almost exactly the same.
- Extra seasoning in liquid: If you want to mix things up, throw in a pinch of paprika, garlic powder, or a little honey to the water before you add the corn.
- Grilled corn twist: If you prefer grilled corn over boiled, you can grill your ears first, then brush the warm cooked corn with leftover butter milk mixture after you take it off the grill.
- Off the cob variation: For kids or for adding to bowls, cut the cooked corn off the cob and toss it with rice, salads, or mac and cheese for extra flavor.
How To Make Chili’s Corn on the Cob
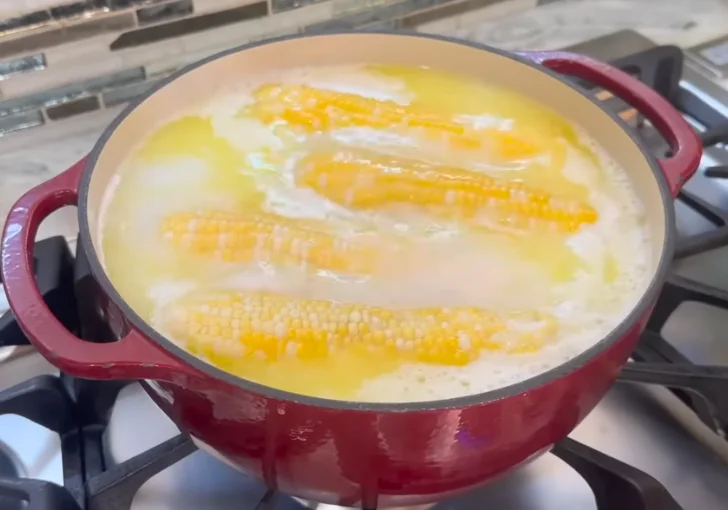
Step 1 | Heat the Cooking Liquid
Fill a large pot halfway with water and place it on the stove over high heat. Once the water becomes warm but not yet boiling, add the stick of butter and the cup of whole milk. Allow the butter to fully melt as the mixture continues heating. This butter-and-milk combination creates the rich base that flavors the corn from the inside out.

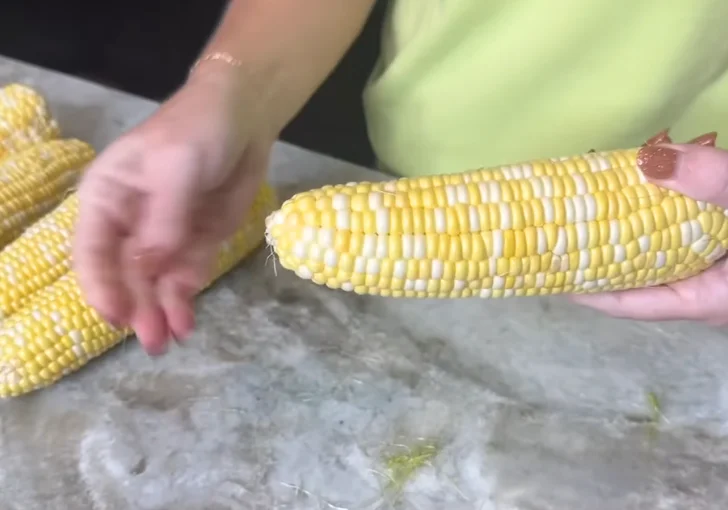
Step 2 | Prepare the Corn
While the liquid heats, remove the husks from each ear of corn. Clean thoroughly to remove all silk strands and rinse if needed. Pat dry lightly. Fresh corn works beautifully, but frozen corn on the cob can be used directly without thawing.
Step 3 | Boil the Corn
When the water, milk, and butter mixture reaches a full rolling boil, gently place the corn on the cob into the pot. Ensure each ear is submerged in the liquid. If needed, press the corn down gently with tongs to keep it covered. Cook for 8 to 10 minutes, maintaining a steady boil so the corn cooks evenly and absorbs the buttery flavor.
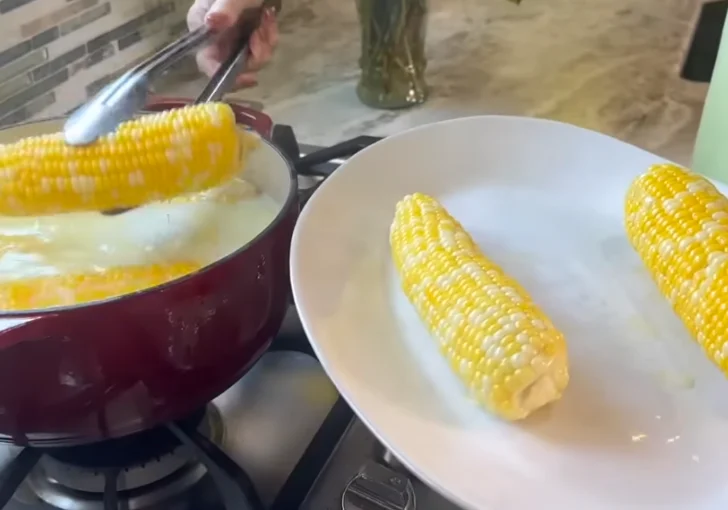
Step 4 | Remove and Rest
Once the corn is tender and fully cooked, carefully remove each ear using tongs and transfer to a serving platter. Allow the corn to cool for 5 to 10 minutes before handling to prevent burns and to let the flavors settle.
Step 5 | Serve
Serve warm. Because the corn is cooked directly in butter, additional butter is not necessary, though a light sprinkle of salt can enhance the flavor if desired. For serving a crowd, each ear can be cut in half before plating.
Why Cook Corn in Milk and Butter?
You might wonder — does it really make a difference?
Yes. A big difference.
Plain water just heats the corn. But milk and butter do something extra. They add richness to every bite. The milk brings a light sweetness. The butter adds that smooth, creamy coating.
Together, they make your corn taste like you ordered it from a restaurant. That is the whole idea behind this Chili’s corn on the cob recipe.
What Seasoning To Sprnkle On The Corn
I have tried a bunch of toppings on this corn, and a few always win. Most nights I just shake on kosher salt and a little black pepper. When I want more, I grab garlic salt or a Cajun blend for a small kick.
Chili powder with a squeeze of lime makes it taste bright and a bit like street corn. Grated Parmesan or cotija on top of the buttery corn is also crazy good.
I do not recommend adding sugar, since the corn is already sweet enough on its own.
Healpful Tips & Notes for the Best Corn on the Cob
- Frozen corn works great. Drop it straight into the boiling mix. No thawing needed. Cook it the same way.
- Do not overcook. Stick to 8–10 minutes. Overcooked corn gets tough and loses its sweet taste.
- Cut before cooking. Want smaller pieces? Cut the corn in half before boiling. This makes serving easier and helps with portion control.
- Use whole milk. It gives a creamier result than low-fat milk. The fat in whole milk works with the butter to coat each kernel.
- Season after cooking. Salt the corn after you take it out of the pot. Salting the water can make corn less tender.
Mistakes To Avoid While Making
- Using a small pot – Crowded corn cooks uneven and some kernels stay firm. Use a big pot with room to move.
- Skipping the milk or butter – Plain water works, but you will not get that Chili’s style taste. The butter bath is the whole point here.
- Overcooking the corn – Boiling for 15–20 minutes makes the kernels mushy. Aim for 8–10 minutes, then test.
- Not cleaning the silks – Leftover silk burns and sticks to your teeth. Take an extra minute to wipe them off.
- Boiling too hard – A wild boil can make the milk scorch and splash. Keep it strong but steady.
- Forgetting to season – Even with butter, the corn needs a little salt at the end to wake everything up.
What To Pair With This Chilis Corn on the Cob
This Chilis corn on the cob fits right in with so many simple meals. It is that kind of side dish you can slide next to almost any main and it just works.
I like it most with grilled stuff. Think juicy burgers, hot dogs, or chicken thighs off the grill. The sweet, buttery corn balances smokey meat really well.
It also works great on Tex‑Mex nights at home. When I make fajitas, tacos, or a big tray of nachos, I often throw this Chili’s Corn on the Cob Recipe on the stove. It adds a nice, mellow side that cools down the spices.
Here are some easy ideas:
- Grilled steak or chicken – Classic steakhouse plate: meat, corn, and maybe a baked potato.
- Ribs or pulled pork – The rich buttered corn cuts through the sauce.
- Burgers and hot dogs – Simple backyard food plus a Chili’s style side, no fuss.
- Chili or taco salads – The soft, sweet kernels go great with beans, beef, and tortilla chips.
- Baked fish or salmon – The creamy corn balances light fish and keeps the plate from feeling too plain.
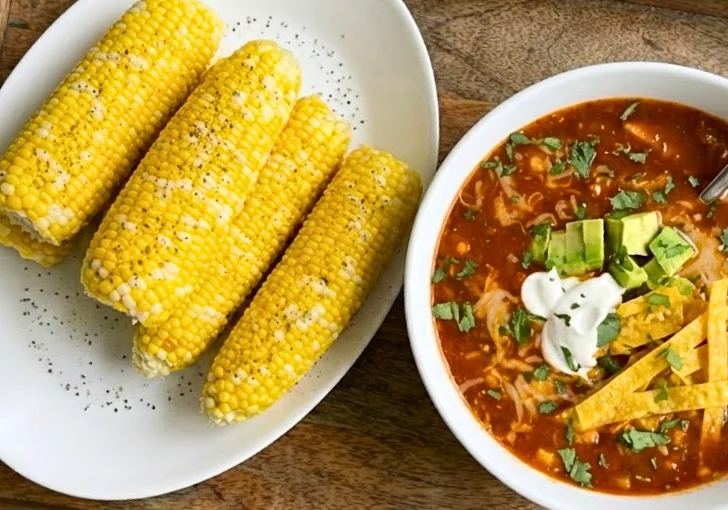
- Tortilla soup and salad nights – Add a cob of corn and you have a full, cozy meal fast.
Can I Make This Ahead of Time?
Yes, you can.
Cook the corn as directed. Then keep it warm in the pot with the lid on. The corn can sit in the butter-milk liquid for up to 30 minutes without getting too soft.
This trick is perfect when you cook for parties or family dinners.
Frequently Asked Questions
Can I use frozen corn instead of fresh?
Yes, you can use frozen corn on the cobs. You do not need to thaw them before cooking. Just put them straight into the boiling milk mix. The cooking time might change slightly by a minute. Check tenderness with a fork to be sure. It is a great backup when fresh is gone.
How long does this corn stay good?
Leftovers last about three days in the fridge. Keep them in an airtight container to stay fresh. Reheat them gently so they do not get dry. You can also freeze them for longer storage time. Just wrap them tight in foil or plastic wrap.
Can I make this in a slow cooker?
Yes, but it takes much longer to cook slow. Set it on low for about four hours total. Make sure the liquid covers the corn fully there. The texture might be softer than boiling method. It is good if you want hands-off cooking time.
What is the best way to reheat leftover corn on the cob?
My favorite way is to warm it back up in a small pot with a splash of milk, a bit of water, and a little butter. Heat on low until hot. Or wrap ears in foil and warm them in the oven at 300°F.
How do I know when the corn is done?
The kernels will look bright yellow and plump full. Poke one with a fork to check tenderness soft. It should feel soft but not mushy or falling apart. Taste a kernel to be sure it is sweet. If it is crunchy, give it another minute cooking.
Chili's Corn on the Cob Recipe
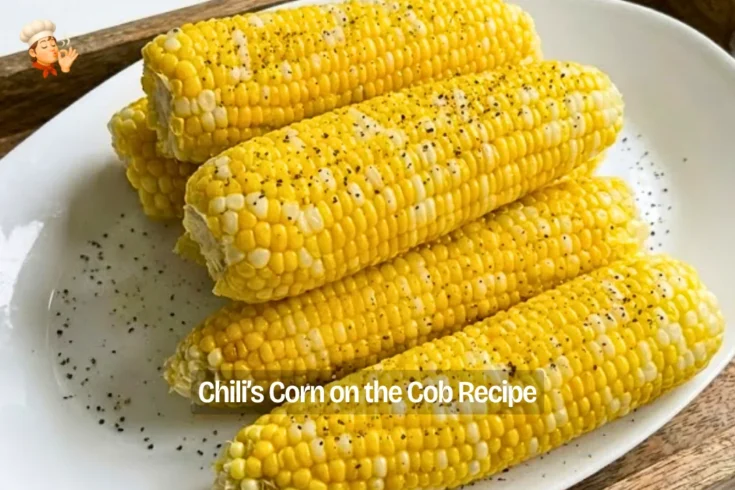
My copycat Chili’s Corn on the Cob Recipe lets you make the famous buttery, sweet restaurant side right at home in under 20 minutes, with zero fancy cooking skills required. Sweet corn simmers in a milk-and-butter bath for tender, juicy kernels that taste just like Chili’s corn on the cob with simple pantry ingredients. This Chili’s style corn is beginner‑friendly, quick for weeknights, and works with burgers, steak, fajitas, or barbecue. You can serve this creamy boiled corn alongside your favorite burgers, BBQ ribs, or fried chicken for your next weeknight dinner or small casual backyard get together.
Ingredients
- 6 ears fresh corn on the cob, husked and cleaned (or 6 frozen corn on the cobs)
- 1 stick (½ cup / 113 g) unsalted butter
- 1 cup whole milk
- 4–5 quarts water (enough to fill a large pot halfway)
- Optional for serving: salt to taste
Instructions
- Fill a large pot halfway with water and place it on the stove over high heat. Once the water becomes warm but not yet boiling, add the stick of butter and the cup of whole milk. Allow the butter to fully melt as the mixture continues heating. This butter-and-milk combination creates the rich base that flavors the corn from the inside out.
- While the liquid heats, remove the husks from each ear of corn. Clean thoroughly to remove all silk strands and rinse if needed. Pat dry lightly. Fresh corn works beautifully, but frozen corn on the cob can be used directly without thawing.
- When the water, milk, and butter mixture reaches a full rolling boil, gently place the corn on the cob into the pot. Ensure each ear is submerged in the liquid. If needed, press the corn down gently with tongs to keep it covered. Cook for 8 to 10 minutes, maintaining a steady boil so the corn cooks evenly and absorbs the buttery flavor.
- Once the corn is tender and fully cooked, carefully remove each ear using tongs and transfer to a serving platter. Allow the corn to cool for 5 to 10 minutes before handling to prevent burns and to let the flavors settle.
- Serve these Chili style corn on the cob warm. Because the corn is cooked directly in butter, additional butter is not necessary, though a light sprinkle of salt can enhance the flavor if desired. For serving a crowd, each ear can be cut in half before plating.
Nutrition Information:
Serving Size:
4-6 people (1 to 1.5 ears per person)Amount Per Serving: Calories: 232
This Chili’s Corn on the Cob Recipe brings that cozy restaurant taste right into your kitchen with almost no effort. Sweet corn soaks in a warm bath of butter, milk, and water, and comes out rich, tender, and ready for any simple meal.
If you like the corn side at Chili’s, you will love how close this Chili’s style corn on the cob comes at home. The steps are easy, the ingredient list is short, and the results feel a little special even on a plain weeknight.